Quick Start Guide
The content of this page has not been updated to Strapi v5 yet.
Strapi offers a lot of flexibility. Whether you want to go fast and quickly see the final result, or would rather dive deeper into the product, we got you covered. For this tutorial, we'll go for the DIY approach and build a project and data structure from scratch.
Before installing Strapi, the following requirements must be installed on your computer:
- Node.js: Only Active LTS or Maintenance LTS versions are supported (currently
v18andv20). Odd-number releases of Node, known as "current" versions of Node.js, are not supported (e.g. v19, v21). - Your preferred Node.js package manager:
- Python (if using a SQLite database)
🚀 Part A: Create a new project with Strapi
Step 1: Run the installation script
Run the following command in a terminal:
- yarn
- npm
yarn create strapi-app my-project --quickstart
npx create-strapi-app@latest my-project --quickstart
The quick start installation sets up Strapi with a SQLite database. Other databases and installation options are available (see CLI installation guide).
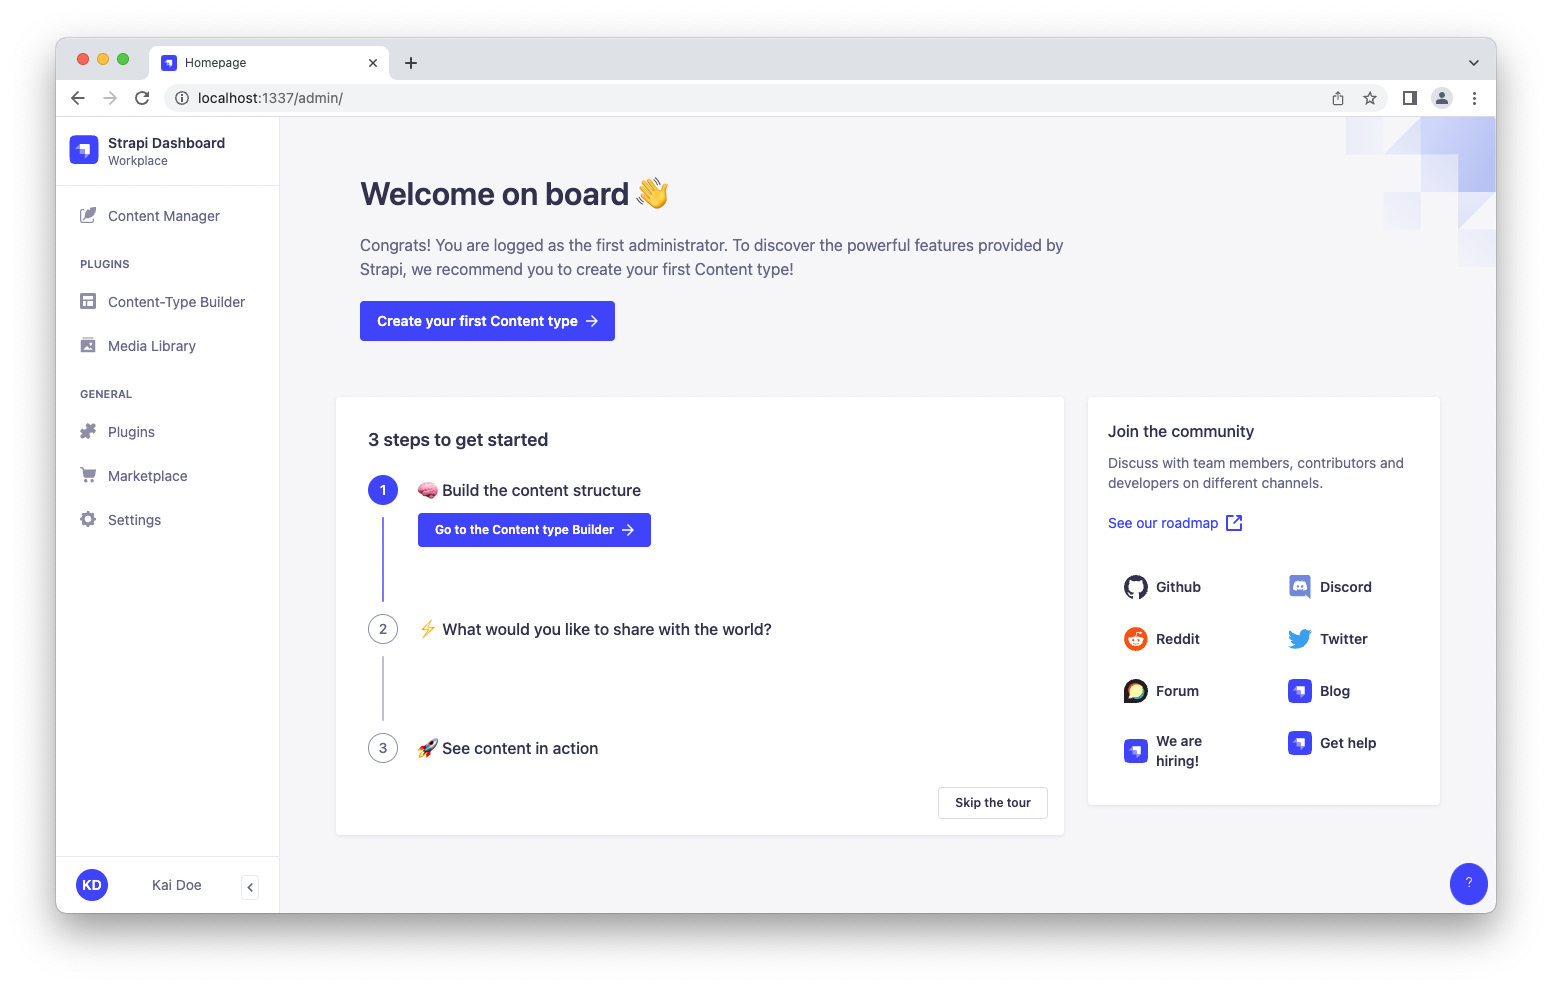
Step 2: Register the first administrator user
Once the installation is complete, your browser automatically opens a new tab.
By completing the form, you create your own account. Once done, you become the first administrator user of this Strapi application. Welcome aboard, commander!
You now have access to the admin panel:
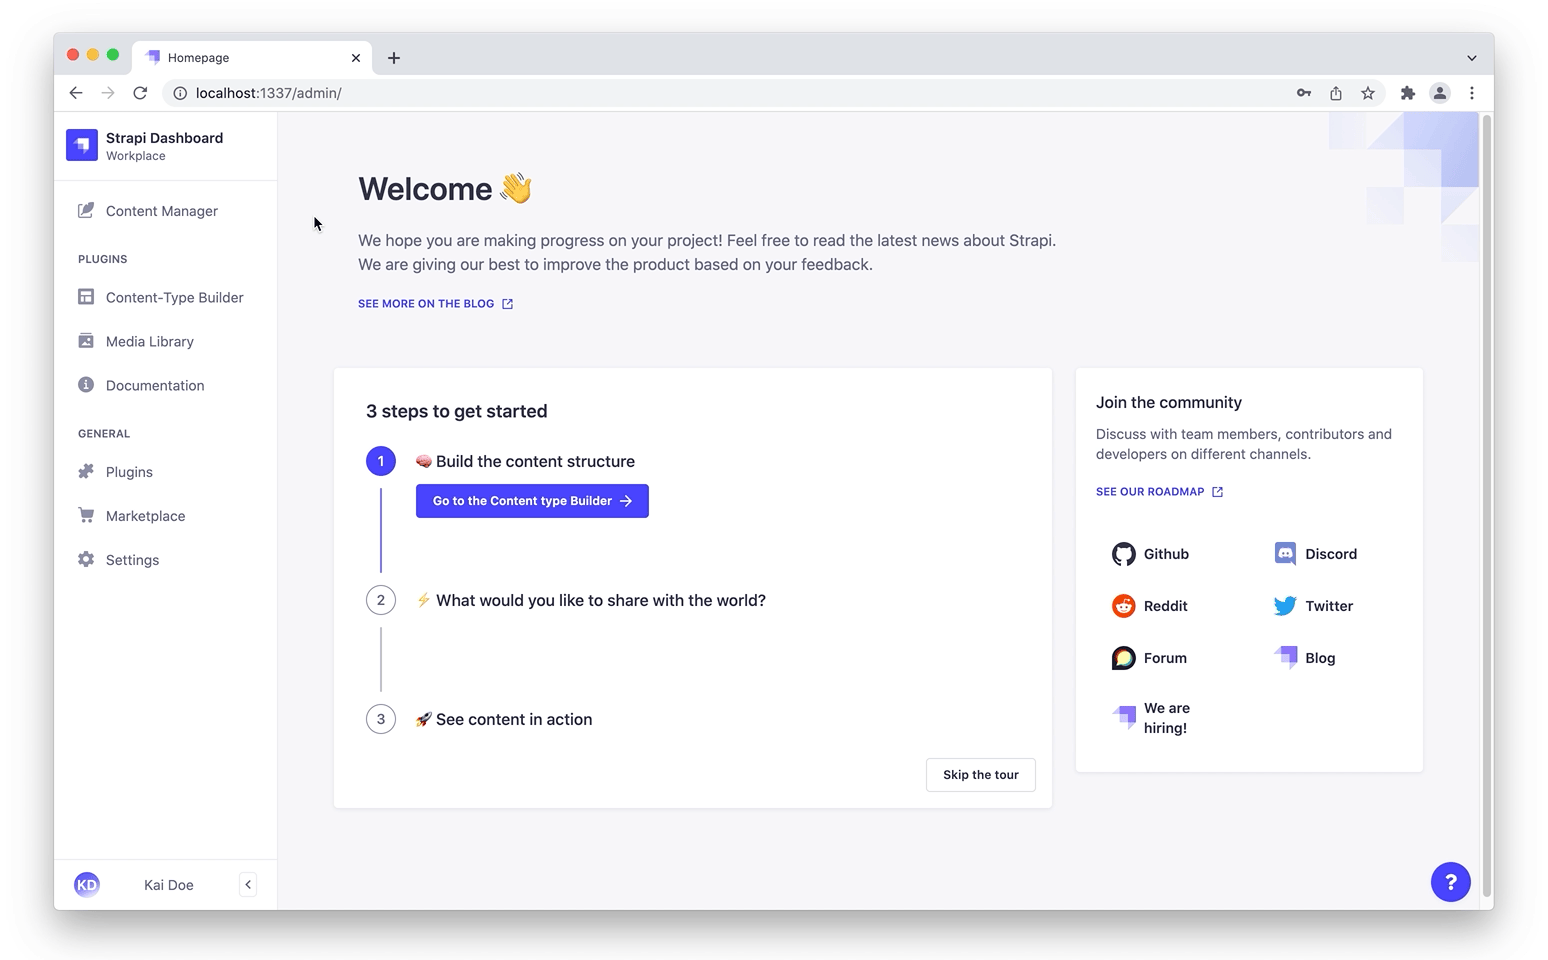
You have just created a new Strapi project! You can start playing with Strapi and discover the product by yourself using our User Guide, or proceed to part B below.
🛠 Part B: Build your content
The installation script has just created an empty project. We will now guide you through creating a restaurants directory, inspired by our FoodAdvisor example application.
In short, we will create a data structure for your content, then add some entries and publish them, so that the API for your content can be consumed.
The admin panel of Strapi runs at http://localhost:1337/admin. This is where you will spend most of your time creating and updating content.
If the server is not already running, in your terminal, cd into the my-project folder and run npm run develop (or yarn develop) to launch it.
Step 1: Create collection types with the Content-type Builder
The Content-type Builder plugin helps you create your data structure. When creating an empty project with Strapi, this is where to get the party started!
Create a "Restaurant" collection type
Your restaurants directory will eventually include many restaurants, so we need to create a "Restaurant" collection type. Then we can describe the fields to display when adding a new restaurant entry:
- Click on the Create your first Content type button.
If it's not showing up, go to Plugins Content-type Builder in the main navigation.
 - Click on Create new collection type.
- Type
Restaurantfor the Display name, and click Continue. - Click the Text field.
- Type
Namein the Name field. - Switch to the Advanced Settings tab, and check the Required field and the Unique field settings.
- Click on Add another field.
- Choose the Rich text field.
- Type
Descriptionunder the Name field, then click Finish. - Finally, click Save and wait for Strapi to restart.
Once Strapi has restarted, "Restaurant" is listed under ![]() Content Manager > Collection types in the navigation. Wow, you have just created your very first content-type! It was so cool — let's create another one right now, just for pleasure.
Content Manager > Collection types in the navigation. Wow, you have just created your very first content-type! It was so cool — let's create another one right now, just for pleasure.
Create a "Category" collection type
It would help getting a bit more organized if our restaurants directory had some categories. Let's create a "Category" collection type:
- Go to Plugins Content-type Builder in the main navigation.
- Click on Create new collection type.
- Type
Categoryfor the Display name, and click Continue. - Click the Text field.
- Type
Namein the Name field. - Switch to the Advanced Settings tab, and check the Required field and the Unique field settings.
- Click on Add another field.
- Choose the Relation field.
- In the center, select the icon that represents "many-to-many"
 . The text should read
 Categories has and belongs to many Restaurants.
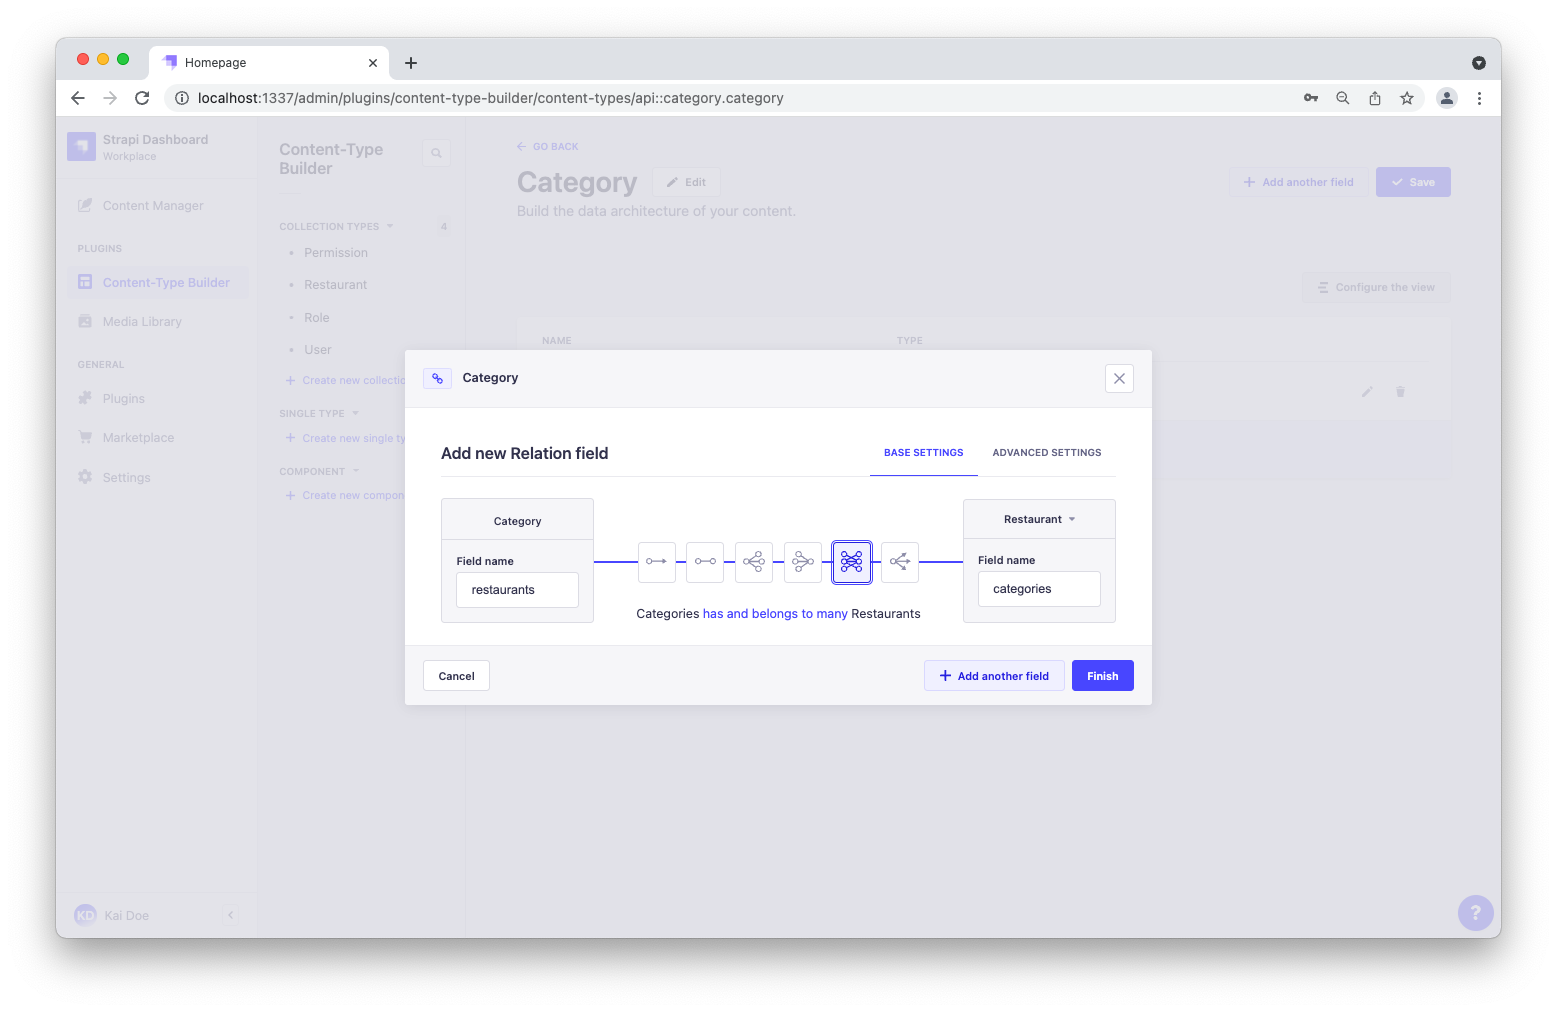
- Finally, click Finish, then the Save button, and wait for Strapi to restart.
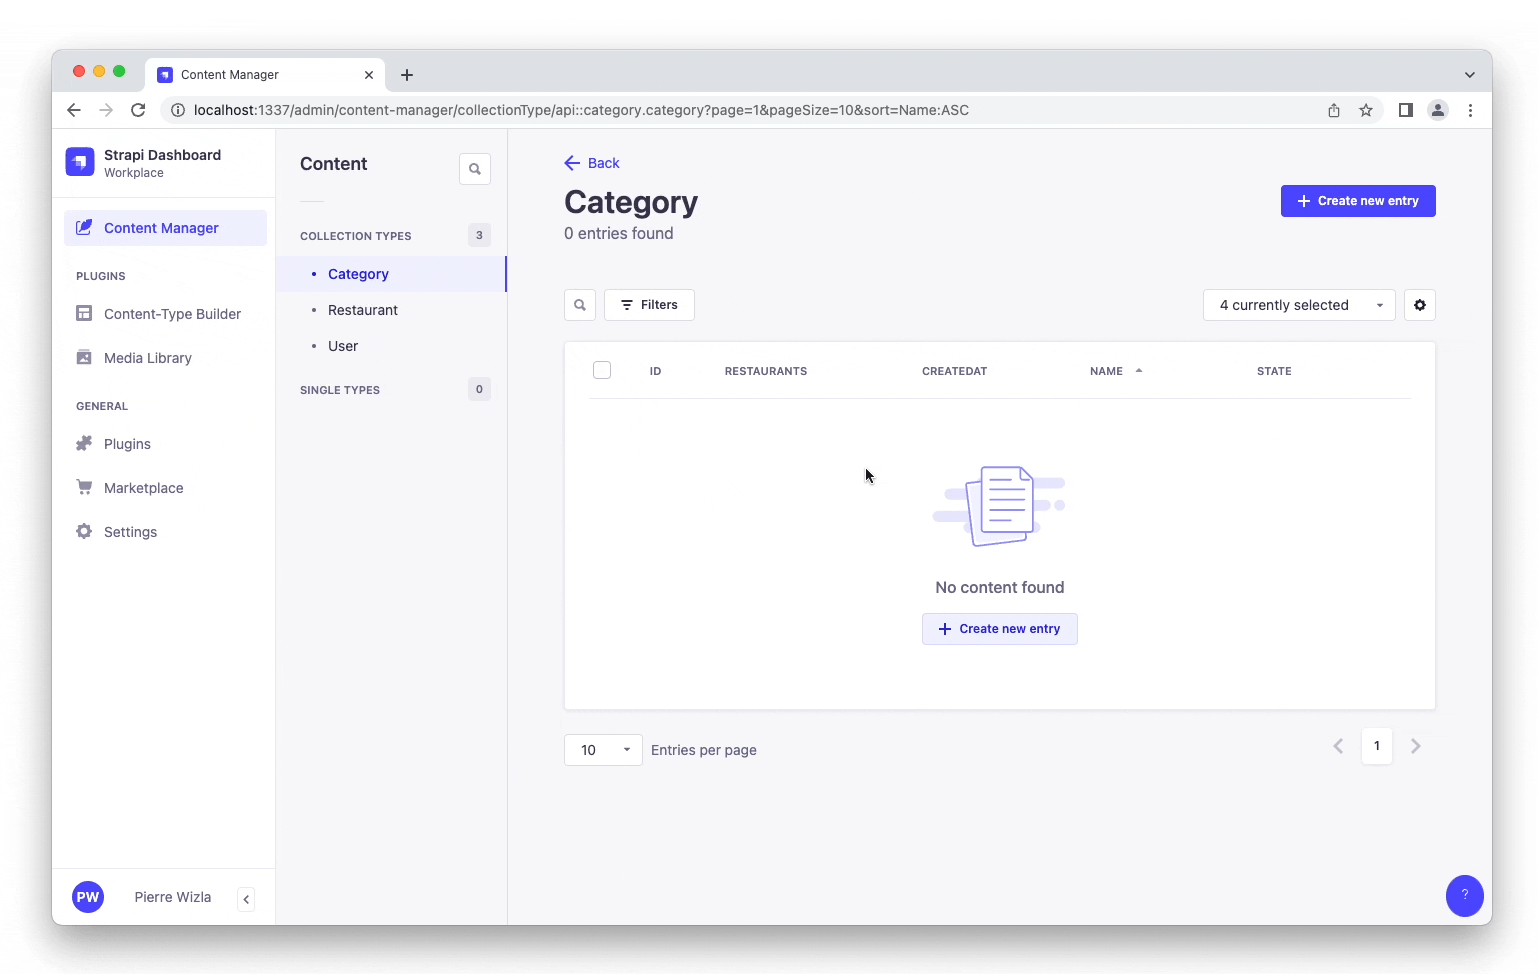
Step 2: Use the collection types to create new entries
Now that we have created a basic data structure with 2 collection types, "Restaurant" and "Category", let's use them to actually add content by creating new entries.
Create an entry for the "Restaurant" collection type
- Go to
 Content Manager > Collection types - Restaurant in the navigation.
 - Click on Create new entry.
- Type the name of your favorite local restaurant in the Name field. Let's say it's
Biscotte Restaurant. - In the Description field, write a few words about it. If you're lacking some inspiration, you can use
Welcome to Biscotte restaurant! Restaurant Biscotte offers a cuisine based on fresh, quality products, often local, organic when possible, and always produced by passionate producers. - Click Save.

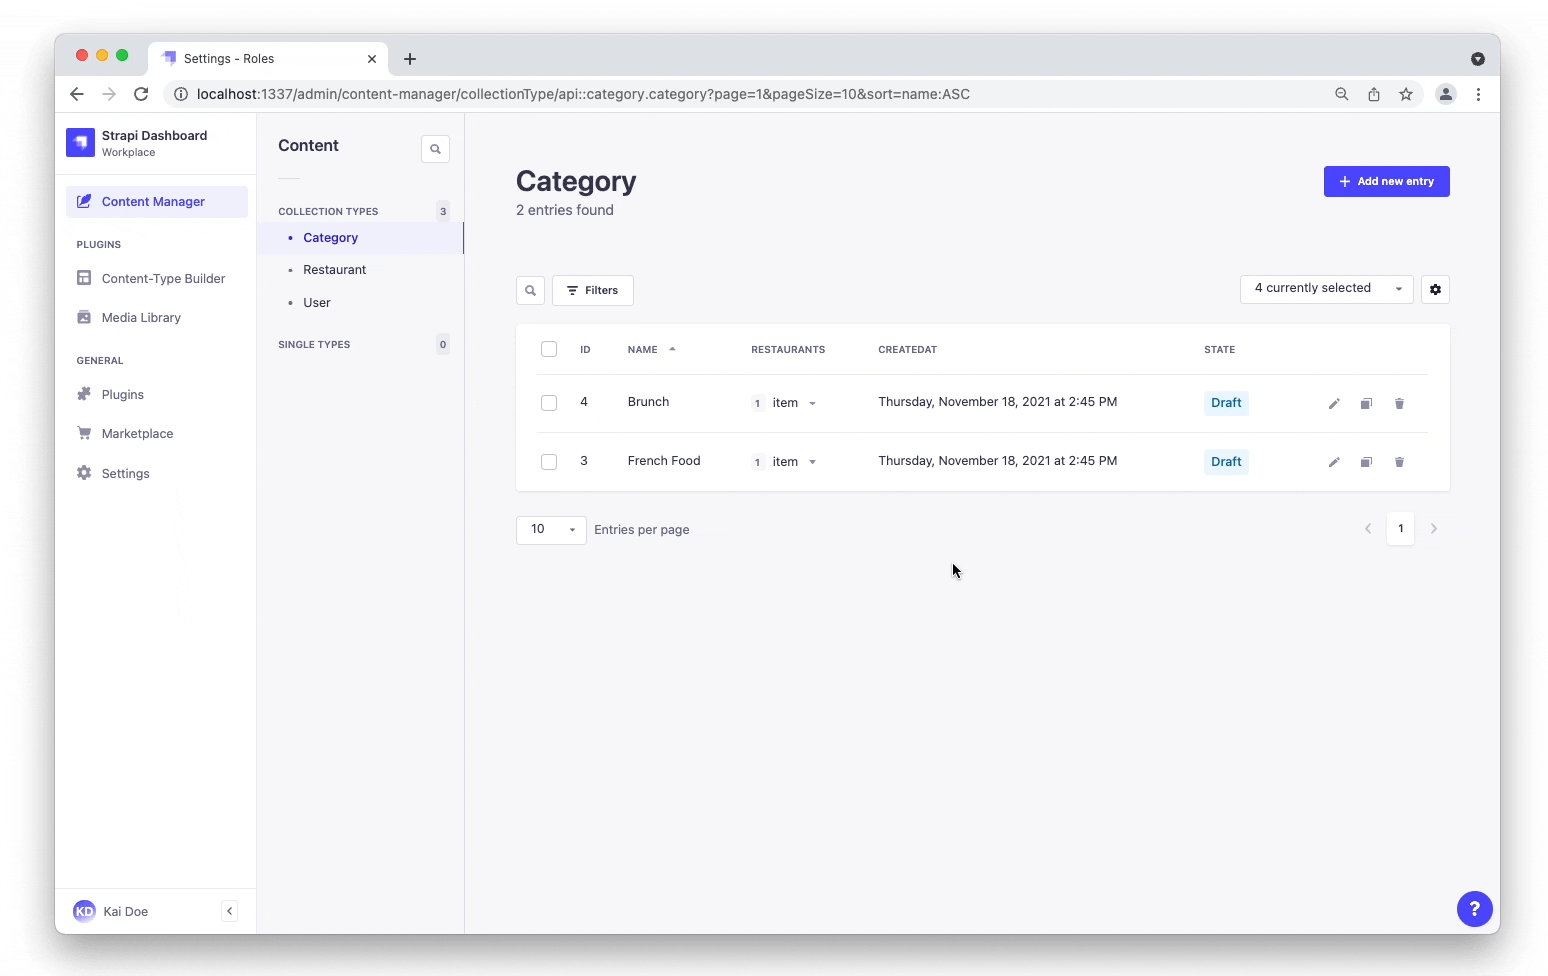
The restaurant is now listed in the Collection types - Restaurant view.
Add Categories
Let's go to ![]() Content Manager > Collection types - Category and create 2 categories:
Content Manager > Collection types - Category and create 2 categories:
- Click on Create new entry.
- Type
French Foodin the Name field. - Click Save.
- Go back to Collection types - Category, then click again on Create new entry.
- Type
Brunchin the Name field, then click Save.
The "French Food" and "Brunch" categories are now listed in the Collection types - Category view.
Add a Category to a Restaurant
Go to ![]() Content Manager > Collection types - Restaurant in the navigation, and click on "Biscotte Restaurant".
Content Manager > Collection types - Restaurant in the navigation, and click on "Biscotte Restaurant".
In the Categories drop-down list, select "Brunch". Click Save.
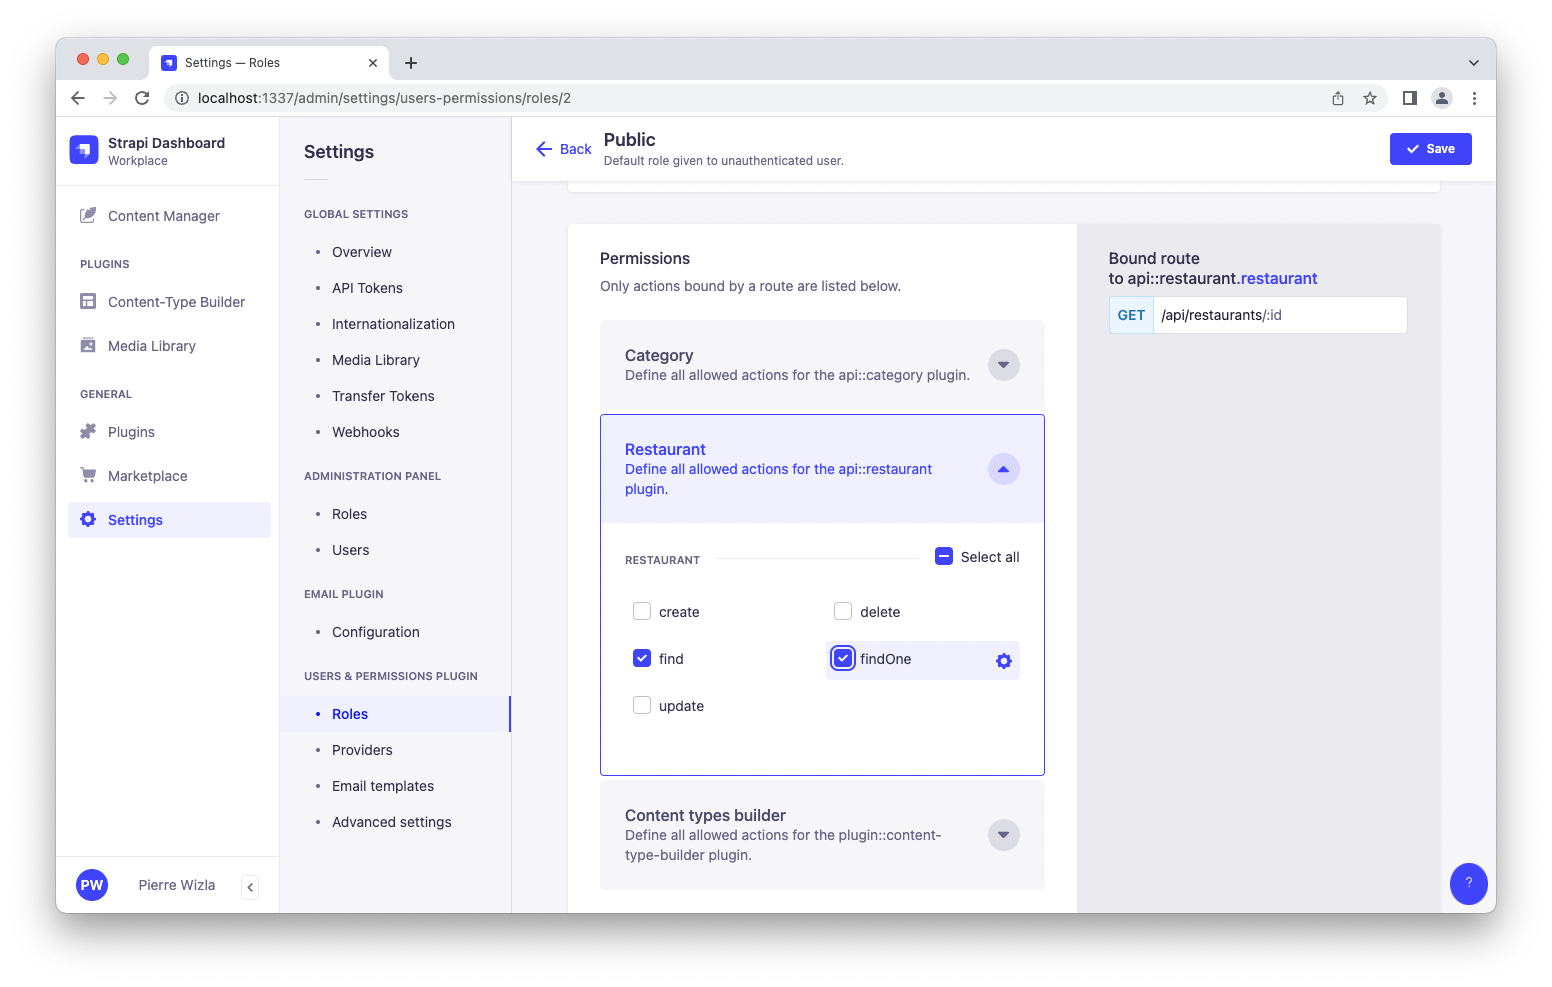
Step 3: Set Roles & Permissions
We have just added a restaurant and 2 categories. We now have enough content to consume (pun intended). But first, we need to make sure that the content is publicly accessible through the API:
- Click on General
 Settings at the bottom of the main navigation.
 - Under Users & Permissions Plugin, choose Roles.
- Click the Public role.
- Scroll down under Permissions.
- In the Permissions tab, find Restaurant and click on it.
- Click the checkboxes next to find and findOne.
- Repeat with Category: click the checkboxes next to find and findOne.
- Finally, click Save.
Step 4: Publish the content
By default, any content you create is saved as a draft. Let's publish our categories and restaurant.
First, navigate to ![]() Content Manager > Collection types - Category. From there:
Content Manager > Collection types - Category. From there:
- Click the "Brunch" entry.
- On the next screen, click Publish.
- In the Confirmation window, click Yes, publish.
Then, go back to the Categories list and repeat for the "French Food" category.
Finally, to publish your favorite restaurant, go to ![]() Content Manager > Collection types - Restaurant, click the restaurant entry, and Publish it.
Content Manager > Collection types - Restaurant, click the restaurant entry, and Publish it.
Step 5: Use the API
OK dear gourmet, we have just finished creating our content and making it accessible through the API. You can give yourself a pat on the back — but you have yet to see the final result of your hard work.
There you are: the list of restaurants is accessible at http://localhost:1337/api/restaurants.
Try it now! The result should be similar to the example response below 👇.
Click me to view an example of API response
{
  "data": [
    {
      "id": 1,
      "attributes": {
        "name": "Biscotte Restaurant",
        "description": "Welcome to Biscotte restaurant! Restaurant Biscotte offers a cuisine based on fresh, quality products, often local, organic when possible, and always produced by passionate producers.",
        "createdAt": "2021-11-18T13:34:53.885Z",
        "updatedAt": "2021-11-18T13:59:05.035Z",
        "publishedAt": "2021-11-18T13:59:05.033Z"
      }
    }
  ],
  "meta": {
    "pagination": {
      "page": 1,
      "pageSize": 25,
      "pageCount": 1,
      "total": 1
    }
  }
}
Now your content is created, published, and you have permissions to request it through the API. Keep on creating amazing content!
⏩ What to do next?
Now that you know the basics of creating and publishing content with Strapi, we encourage you to explore and dig deeper into some Strapi features:
- 👉 discover Strapi's Content APIs,
- 👉 deploy your project on Strapi Cloud,
- 👉 or learn more about everything Strapi has to offer both for developers and content managers.